
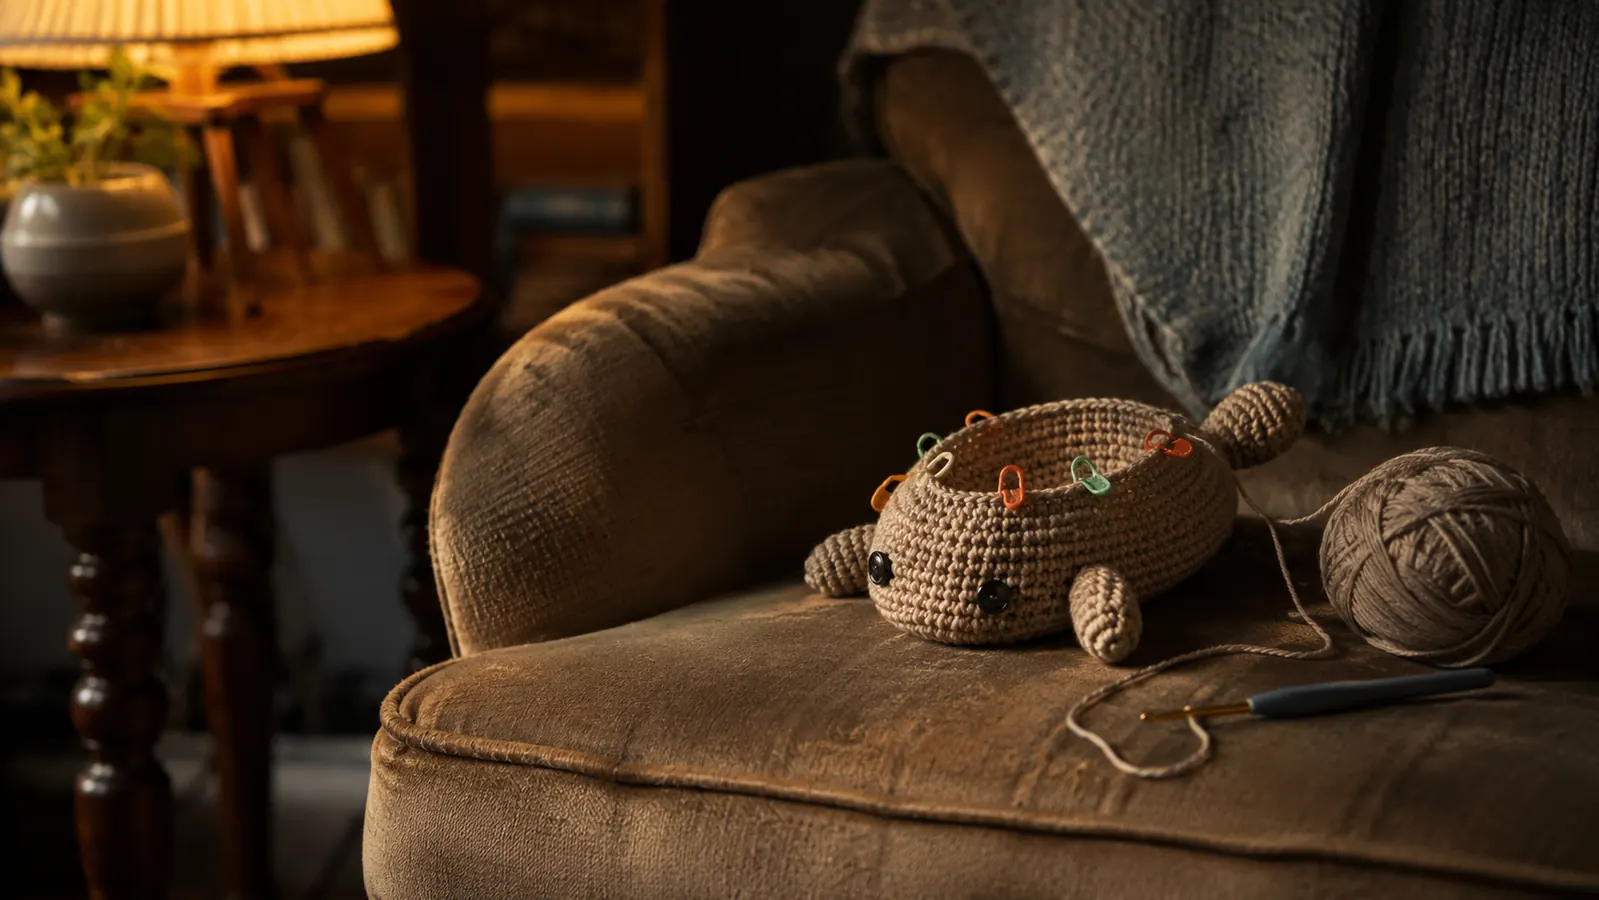
For thirty years I kept my place in a crochet round the same way a lot of us do: I squinted at the spiral, guessed at the halfway point, and hoped. Amigurumi makes that guess expensive, because the rounds are small and the stitches blur together after just a few rows. I am a retired middle school math teacher, so counting has never been my problem. The problem is remembering which of the thirty stitches in the round is the first one once I set the work down to answer the phone or refill my coffee. That one lost landmark is what turns a thirty minute crochet session into a forty minute recounting session, and for years I blamed my eyes, my lamp, and the yarn. It was none of those things. It was a tool problem, and a cheap one to fix. These days I keep a box of Meikeer locking stitch markers next to my recliner, and they changed how I work amigurumi.
In my classroom years I told my sixth graders that a zero is not nothing. It is a placeholder, and its one job is to tell you where the other numbers live. A stitch marker in a round does the same job, and that is the mental shift that finally fixed my counting. It does not count for you, but it tells you where the count lives, and that changes the whole task from "count this entire round again" into "count forward from this marker." The set I keep in a basket beside my recliner is the Meikeer locking stitch markers, 150 pieces in ten colors with a storage box. They were not the first markers I owned, but they are the ones that stayed, and the five habits below are the exact system I use on every amigurumi animal I make for my church's donation drive.
Start every round with a marker that stays put
The Meikeer set gives you 150 locking markers in ten colors, so you always have one within reach plus a second and third color for checkpoints. The lock opens with a light squeeze near the hinge, which matters when your thumb joint is stiff on a cold morning.
Amazon Check Today's Price on Amazon →Step 1: Know whether you are working a spiral or a joined round
Most amigurumi is worked in a continuous spiral. Round one melts into round two with no slip stitch and no chain, so there is no seam to tell you where you started. That is exactly why the place gets lost: your eye looks for a landmark and there is none. A handful of patterns, mostly baskets and the occasional toy, join each round with a slip stitch and open the next round with a chain, and those leave a visible little seam. Both kinds of rounds are easy to mark, but the marker does a different job in each, so the very first step is to settle which one you are holding before the hook touches the yarn.
For a spiral, the marker sits in the first stitch of each new round and travels up with you, one marker moving one stitch higher every round. For a joined round, the marker sits in the top of the starting chain or in the first real stitch of the round, and you set it fresh after each join, when the slip stitch has closed the old round. Mixing the two systems is how you end up with a marker that is always one stitch off and a piece that mysteriously grows a bump where the join should be. Know which round you are in before you start, and the rest of this method is just following a routine.
Step 2: Put the marker in the first stitch, not the last
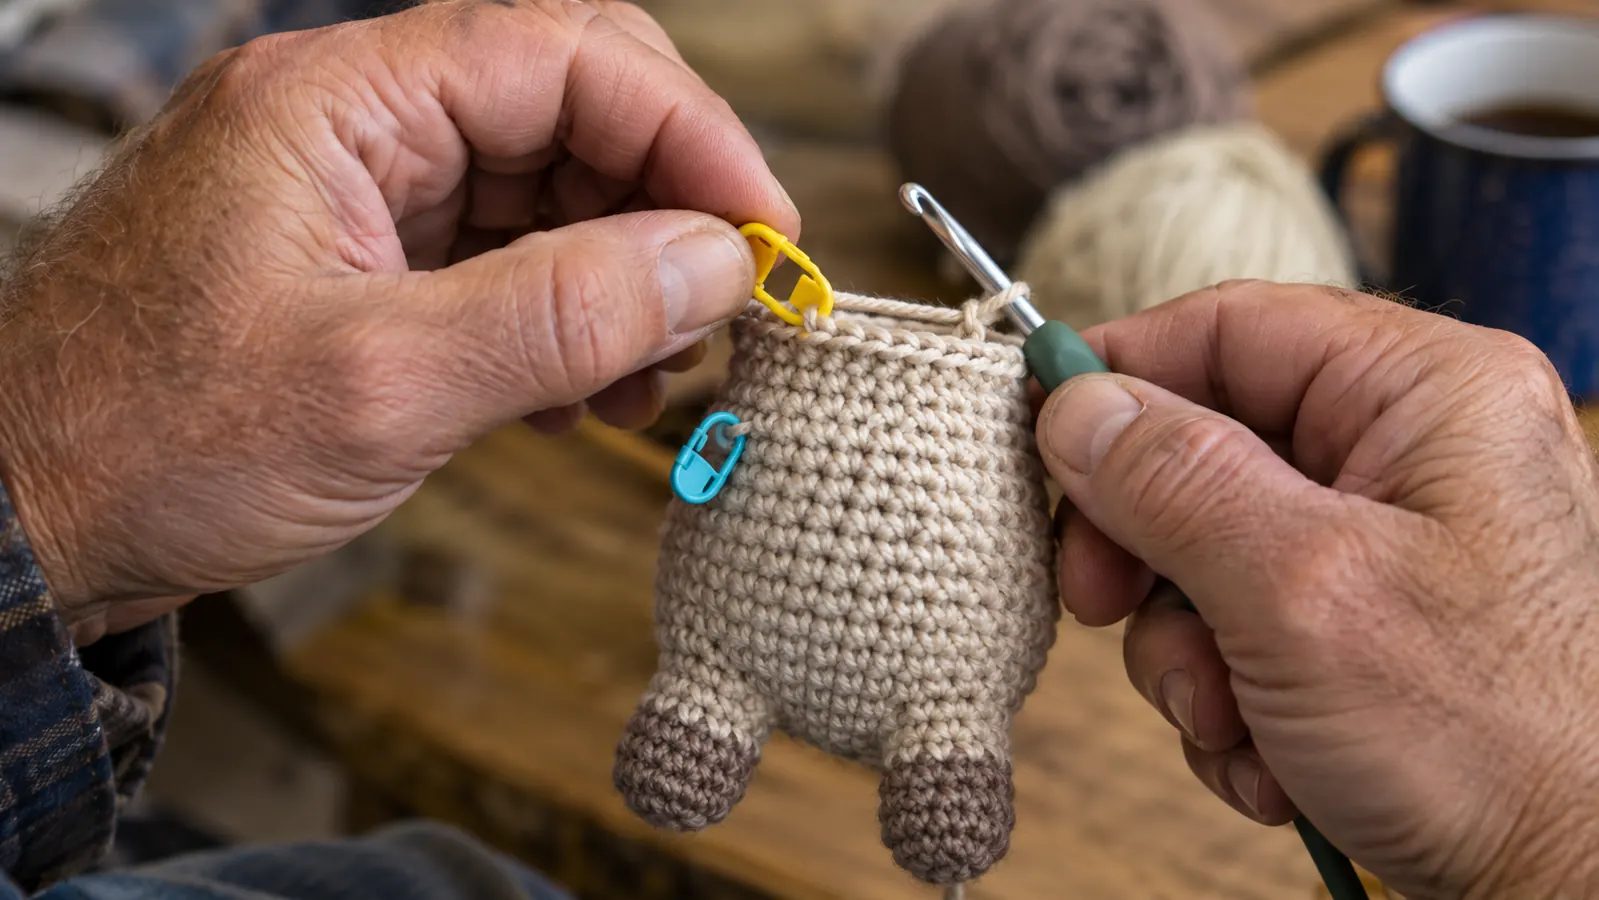
When round one is finished, the last stitch you made sits right beside the first one, and that is the moment most people guess wrong. The rule I use is simple: the first stitch of the new round is the one you are about to work, not the one you just finished. So I clip the marker into that first stitch before I begin round two. For a spiral I clip it over the top of the V, catching both loops, and snap it shut. For a joined round I clip it into the top of the starting chain. Either way, the marker is in place before the next round begins, and the message it carries is "start here."
Locking markers earn their keep right here, because a split ring or a loose scrap of contrasting yarn can wiggle out of a single stitch when you set the work down. A locking marker stays snapped shut until you open it on purpose. The Meikeer markers open with a squeeze at the hinge rather than a pinch at the point, which I noticed the first evening I used them, because my right thumb joint gets stiff in cold weather and a flat pinch hurts. A tool that hurts to use is a tool you stop using, and that is probably why my old split rings live at the bottom of a basket now.
The other half of this step is consistency. Pick the first stitch and do not move that job to the last stitch for convenience. I tried the last stitch habit once, telling myself it meant the same thing, and on a forty stitch round my count drifted by one before I noticed. Same side of the work, same stitch, every round. The marker is only as trustworthy as the routine around it, and a routine you repeat without deciding is a routine that cannot go wrong. My rule of thumb is one marker, one job, one place, and I write lesson plans the same way.
Step 3: Move the marker once per round, at the same moment
Here is the four second habit that ends the panic. Finish the last stitch of the round, open the marker, lift it off the old first stitch, and clip it onto the first stitch of the brand new round. Do it before you tighten your yarn, before you set the work down, and before you answer the phone. One move per round, always at the same point in the rhythm. The marker becomes like the hand on a clock, it points at round start, and you never have to audit an entire spiral again just to find where the beginning lives. That single snap of the marker is the whole method in miniature.
If you also want to know which round you are on, keep the tally somewhere else. A row counter that hangs on your hook, or a scratch pad with hash marks, works far better than trying to read a number off a piece of plastic. The marker answers the question where, and the tally answers the question which, and the two should never be crammed into one job. When I set a piece down in the middle of a round now, I pick it up, find the marker, and only count forward from there, usually ten or fifteen stitches instead of the whole round.
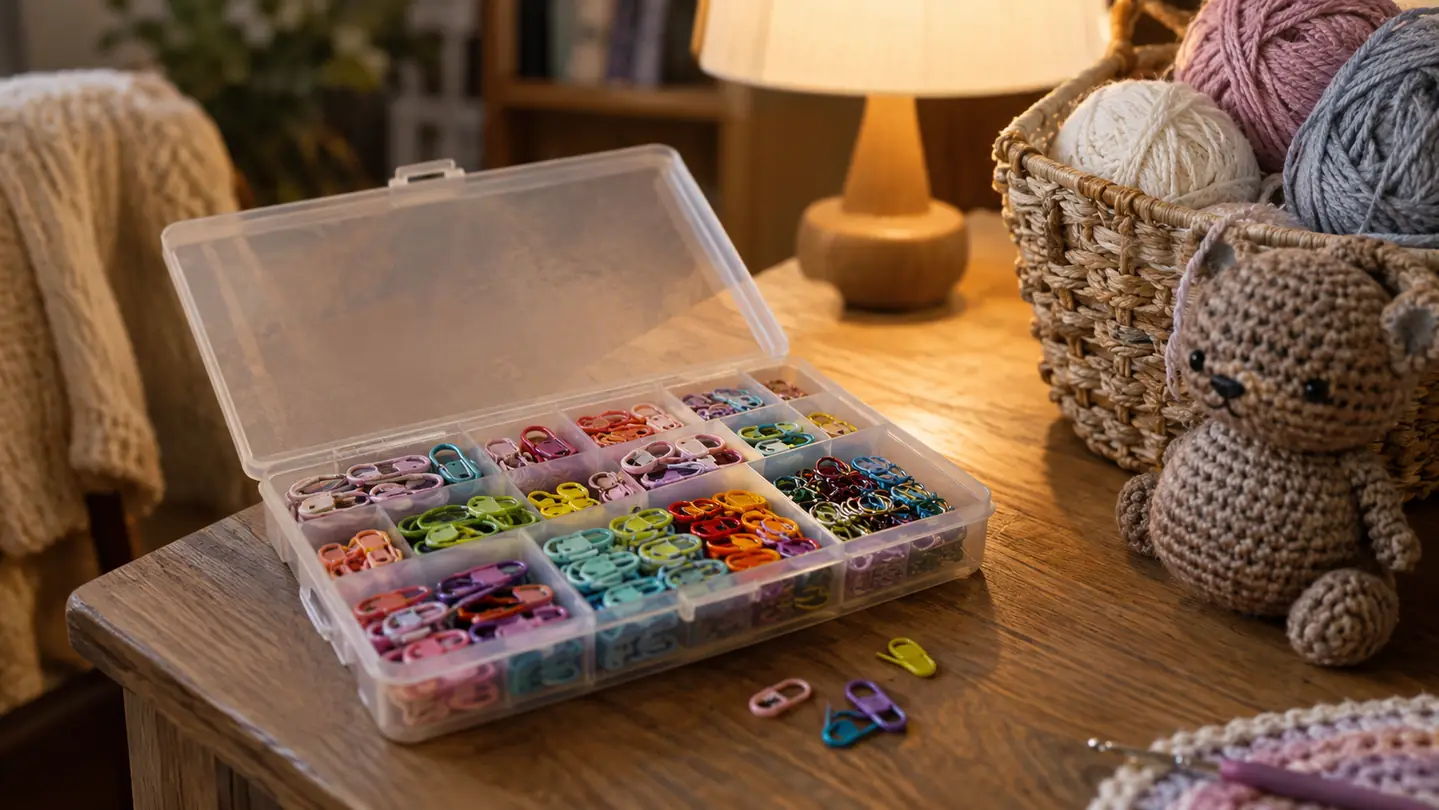
Yes, markers vanish into couch cushions. The Meikeer box has 150 of them in ten colors, so losing one now and then is not an emergency. I keep the box on the side table under the lamp and top up my basket every few weeks. The only marker that matters is the one on the work, and if it ever does disappear, moving a fresh one into that first stitch is a ten second repair, not a reason to put the project down.
Step 4: Use a second color as a pattern checkpoint
Most amigurumi rounds are built from repeats: single crochet two, increase, all the way around, or decrease every four stitches on the muzzle. The fastest way to lose the count in a repeating round is to lose the place where one repeat ends and the next begins. So I clip a second marker, in a different color from my round start marker, at the start of each repeat. For a long repeat I place one every half dozen stitches. Now the pattern tells the marker where to go, instead of my memory doing that work after the coffee has worn off. It is the difference between following a map and driving from memory, and on a forty minute session that difference is the whole evening.
This is my favorite move, and it is pure math teacher habit. You are checking your work in chunks instead of in one long errand. If I reach a checkpoint and the count is off by one, I know the mistake is inside the six stitches just before that marker, not somewhere in a whole round. That localizes the error. I fix a tiny patch, or at worst rework one short section, instead of ripping out an hour of work and starting the round over. Mathematically it is the difference between debugging a paragraph and rewriting the whole essay.
The same checkpoint method handles color changes. When I switch yarn colors for a teddy bear's sweater stripe, I clip a marker into the first stitch after the switch. The stripe is supposed to sit on the bear's left side, and if it starts drifting across the belly, that marker tells me whether the drift happened in the color change round itself or later in the piece. One little plastic clip saves me from solving the wrong problem, which is the most expensive kind of mistake in any craft.
Step 5: Put checkpoints on long rounds so a mistake stays small
When a round passes thirty stitches, I stop counting the whole thing in one pass. I count to the first checkpoint, rest my eyes, count to the next, and so on. Ten stitches is about one breath. It sounds fussy, but it is dramatically more accurate than counting to forty and hoping, and it matches the way the pattern is built, since most long rounds are just short repeats stacked together. Counting in chunks means every number you say out loud is small enough to trust.
The other long round problem is decreases. Once the work gets floppy, the stitches sit at angles and the count goes fuzzy. I clip markers around the decrease section specifically, so I can count the decreases themselves. If the pattern says decrease then single crochet six, I mark the start of that sequence. Each marker tells me where the next decrease goes, and I can work the section without checking the pattern four times per stitch. On a floppy piece, the markers do the holding and I do the counting, which is a fair division of labor.
None of this is complicated. It is just three markers doing three jobs: one for the round start, one for the repeats, one for the trouble spots. After two projects you will do it without thinking, the same way you no longer think about what a zero is for. That is the whole point. The marker should do the remembering, so your hands can do the crocheting.
What Else Helps
The marker system works best beside two small things. A simple row counter, or a scratch pad with hash marks, because the marker tells you where the round starts but not which number it is. And the storage box that comes with the Meikeer set, kept on the table next to your chair. Markers you have to dig for are markers you stop using. Keep them within arm's reach, right where the work is. I use an old ceramic mug for the markers I am actually using and keep the box itself in the basket, so the spare colors survive between projects.
If you have only ever used split ring markers, it is worth trying a locking marker once, especially on single ply yarns like cotton, where a split ring can grab and separate the plies. Locking markers close cleanly over the work and come off with one squeeze. And if you are curious about how this specific set holds up over time, this site has a long term review of the Meikeer markers, a side by side comparison with the Clover set, and a list of ten reasons locking stitch markers save your count. Read those before you buy, and you will know exactly what you are getting.
Count to the marker, not to forty. Ten stitches is one breath.
Clip one in and see how calm the counting gets
Grab the Meikeer locking stitch markers from Amazon, clip one into the first stitch of your next round, and you will feel the difference by the second round. With 150 markers in the box, losing one to a cushion is not an emergency.
Amazon Check Today's Price on Amazon →