
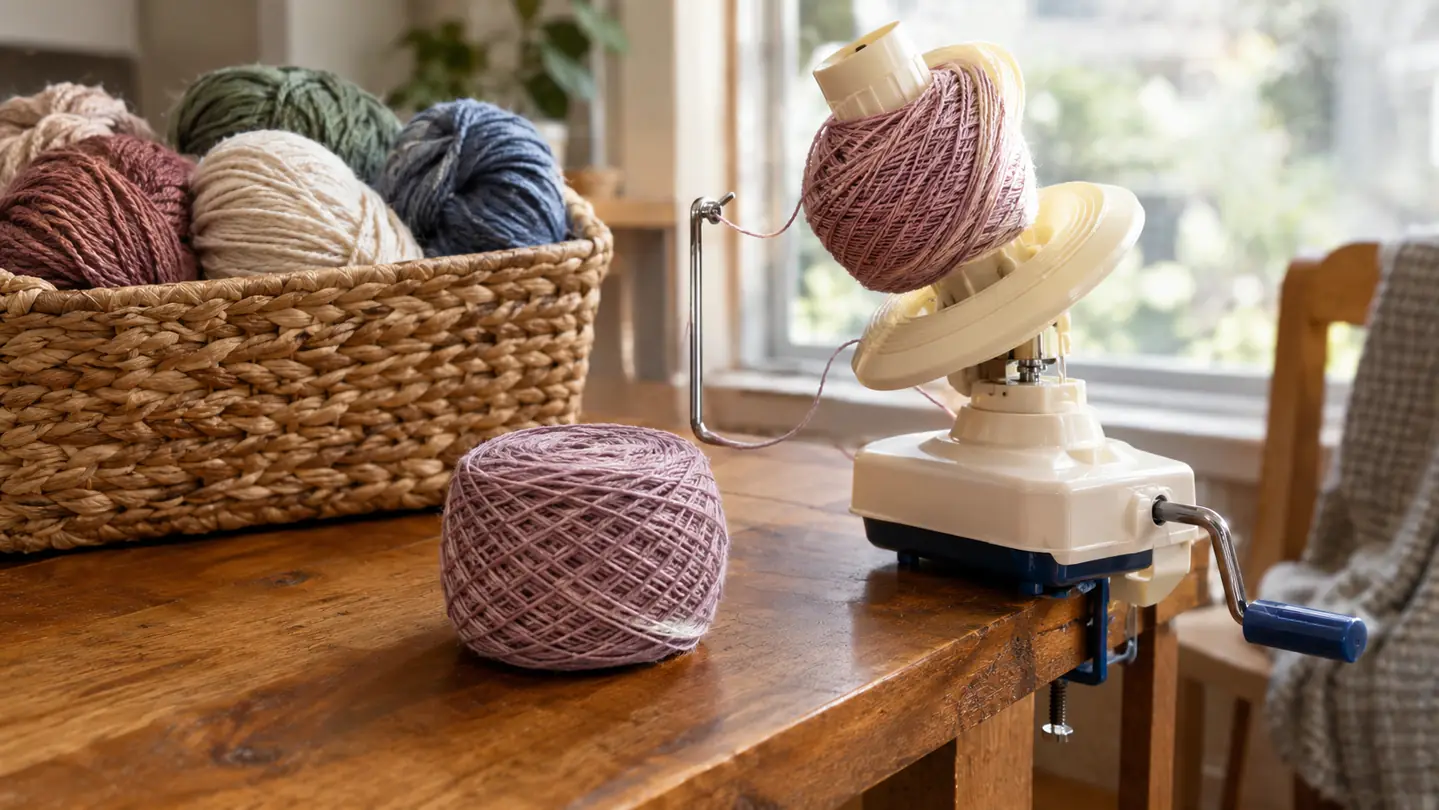
If you have ever tried to crochet from a skein that has been through the wash, you know the feeling. The yarn collapses into a tangle the moment you pull the end, and you spend the first twenty minutes of every project untangling instead of stitching. I have been crocheting for about 30 years, and for most of that time I just accepted the mess. Then I started using a hand-crank winder, and the whole rhythm of my evenings changed. The Knit Picks Yarn Ball Winder turns a loose skein into a firm center-pull ball in a few minutes, and it is the tool I reach for before every new project.
This guide walks through the exact method I use in my living room recliner, with the winder clamped to a side table and a skein draped over the back of a chair. It works for wool, cotton, acrylic, and most blends. Once you learn the motion, you will wonder why you ever wrestled with a tangled skein by hand.
Start Every Project With a Tangle-Free Ball
The Knit Picks Yarn Ball Winder turns loose skeins into neat center-pull balls in minutes. It is the tool I reach for before every new project.
Amazon Check Today's Price on Amazon →Step 1: Set Up Your Workspace
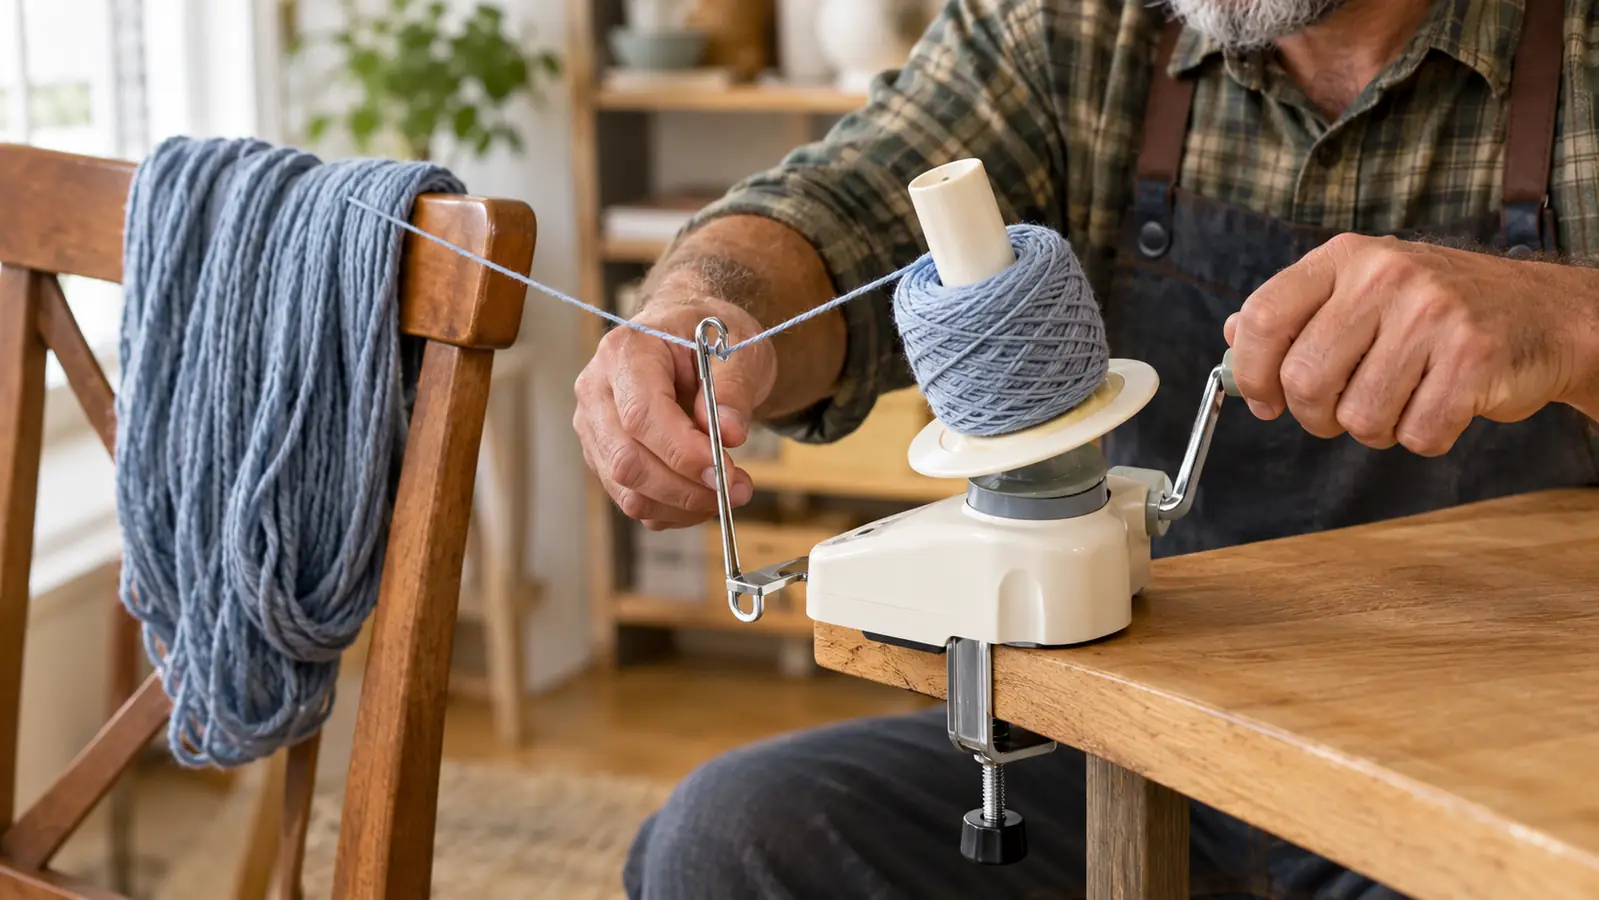
You need a stable surface and a way to let the yarn feed freely. I clamp the winder to a side table next to my recliner, close enough that I can turn the crank without stretching. The base has a clamp that grips table edges up to about two inches thick, and it holds firm while I crank. The first time I used it, I clamped it to the kitchen table and stood up to crank, and my shoulder started complaining before the skein was half done. Now I sit in my recliner with the winder at elbow height, and I can wind three skeins in a row without any stiffness.
The yarn needs to come off the skein without resistance. I drape the skein over the back of a dining chair, or over my knees if I am working with a small skein. The key is that the yarn should glide off the skein as you crank, not pull against a knot or a twisted loop. One evening I tried winding directly from a skein sitting flat on the couch, and the yarn caught under its own weight every few turns. Moving the skein to the chair back fixed the problem completely.
If you are winding a hank, the kind that comes twisted into a big loop, you will need a swift to hold it open. A swift is a separate tool that spins as the yarn feeds off. If you do not have one, you can drape the hank over the back of two chairs, but it will tangle more easily. For most commercial skeins, a chair back works fine. I have a friend who uses the arms of an office chair, and another who holds the hank on her outstretched arms while her husband cranks. The two-chair method is the one I recommend if you are just starting out.
Step 2: Find the End and Start the Yarn
Find the end of the yarn. If you are winding a fresh skein, the end is usually tucked into the label or the outer wrap. If you are rewinding a partial skein, find the end that is not attached to your project. I keep a small pair of scissors in the side pocket of my project bag for exactly this moment, because pulling at a tucked end with your fingernails is a good way to split the yarn.
The Knit Picks winder has a small slot or clip near the base of the spindle where you tuck the yarn end to start. You wrap the yarn around the spindle a few times by hand, then seat it in the guide. This gives the ball a secure center so the first few layers do not slip. The first time I used the winder, I skipped the hand wraps and just tucked the end into the slot, and the first layer slid right off the spindle. Once I started doing three or four loose wraps by hand, the center held every time.
Hold the yarn with a little tension as you start. Not too much, or the yarn will stretch, especially if it is wool. Just enough that it feeds evenly into the guide. Think of it like the first few stitches of a foundation chain: a steady, even start makes everything after it easier. If you are winding a slippery yarn like a bamboo blend, you may need to hold the yarn a bit closer to the guide so it does not bounce out of the channel.
Step 3: Crank in a Steady Rhythm
Turn the crank at a steady, moderate speed. The winder has a gear ratio that builds the ball quickly, so you do not need to spin it fast. A slow, even rhythm gives a firmer, more uniform ball. If you crank too fast, the yarn can slip off the guide or twist on itself. I learned this the hard way with a skein of cotton dishcloth yarn: I got impatient, sped up, and spent ten minutes untangling a knot that had formed right at the guide.
Keep one hand on the yarn near the guide to maintain light tension. The other hand turns the crank. The motion becomes almost automatic after a minute. I usually listen to a podcast while I wind, and the ball is done before I finish the episode. On a typical evening I wind two or three skeins for a blanket, and the whole batch takes less than fifteen minutes from start to finish.
Watch the yarn as it feeds. If you see it start to twist or catch, stop and untangle the skein before continuing. A small tangle that you ignore for ten seconds becomes a knot that takes five minutes to undo. It is worth stopping early. I keep a crochet hook nearby to tease out snags, and I have learned to trust that little pause. The few seconds it takes to fix a twist always save me more time than pushing through.
Step 4: Finish the Ball and Remove It
When the skein is almost gone, slow down. The last few yards feed faster than you expect, and the end can whip around if you are not ready. Let the final length feed through, then stop the crank. The first time I wound a full skein with the Knit Picks winder, I timed it out of curiosity: just over four minutes from loose skein to a firm center-pull ball. That is four minutes instead of the twenty I used to spend untangling.
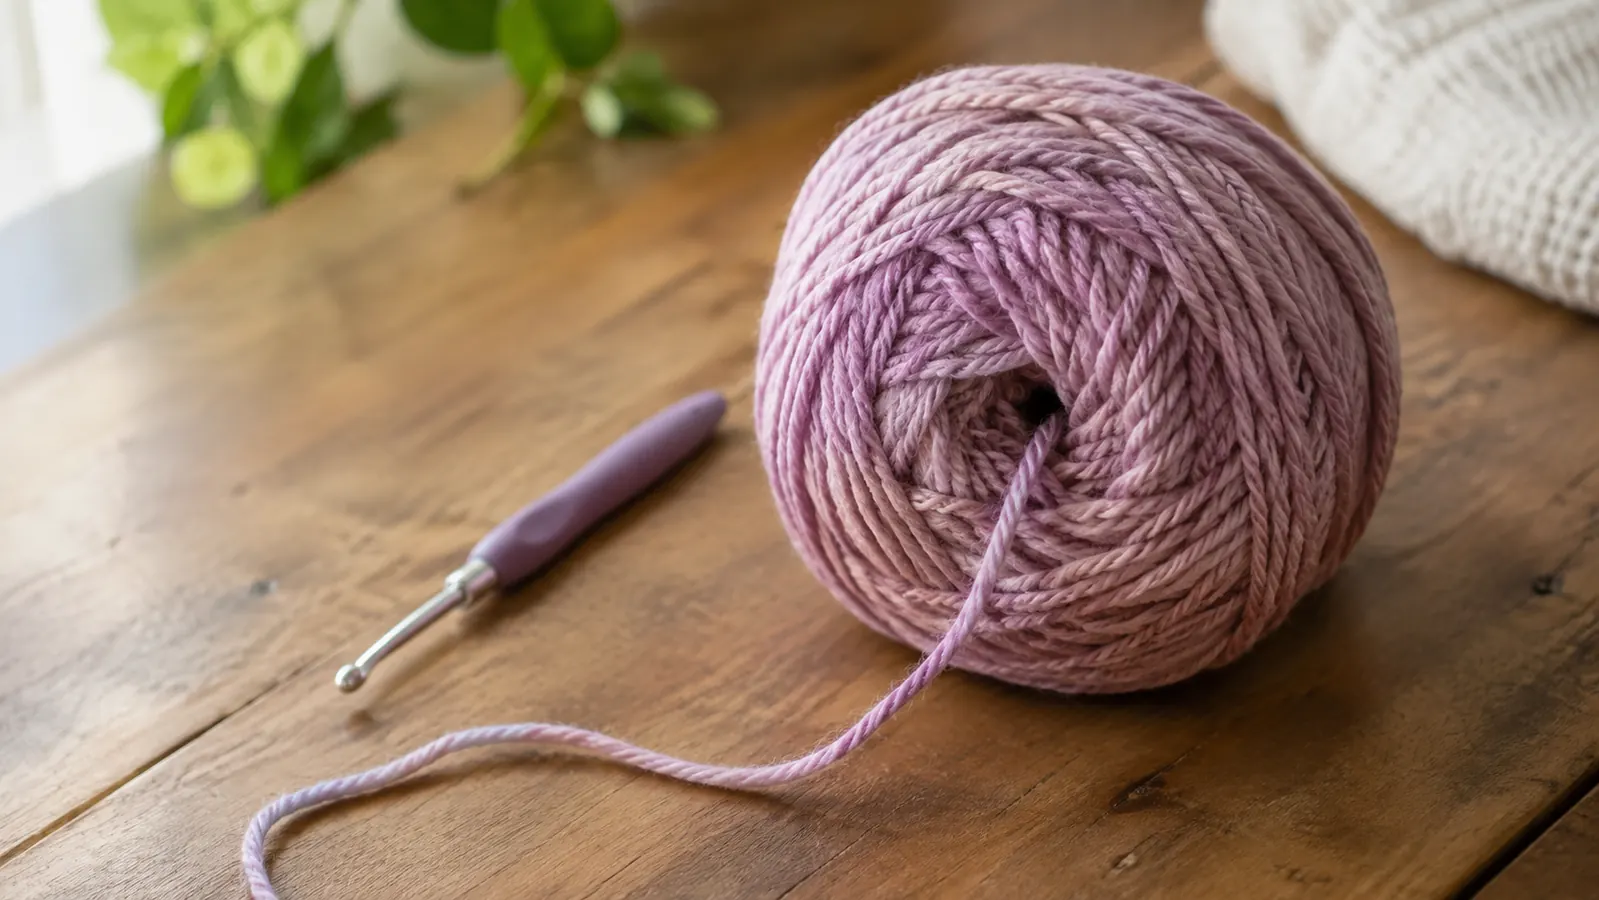
Slide the ball off the spindle. The center-pull end is the one that was tucked into the slot at the start. Pull that end gently to confirm it comes out freely. If it does, you have a perfect center-pull ball. If it does not, you can pull the outer end and wind from the outside, which still works fine. I have had one ball in maybe thirty where the center end did not pull cleanly, and it was because I had not wrapped the center tightly enough at the start.
The ball should feel firm but not hard. If it feels squishy, you did not use enough tension. If it feels rock hard, you used too much. Either one will still crochet, but the firm middle ground is the most pleasant to work with. A good test is to give the ball a gentle squeeze: it should hold its shape and spring back slowly. If it collapses, rewind it with a little more tension.
Step 5: Store the Ball and Start Your Project
A center-pull ball sits neatly in a project bag or a basket. The working yarn comes from the center, so the ball stays put while you crochet. It does not roll across the floor, and it does not tangle with the other balls in your bag. I keep my current project in a canvas tote by the recliner, and the center-pull ball sits on top of the yarn I am not using yet. When I reach for it, the ball is exactly where I left it.
When you are ready to start, pull the center end and begin. The ball will stay firm as you work, and the yarn will feed smoothly. When you need to rewind a partial ball, you can run it through the winder again in a minute. I do this all the time with dishcloth cotton, because a half-used ball gets floppy and starts to tangle. One quick pass through the winder and it is as neat as the day I wound it.
I keep a few empty center-pull balls on hand for projects that need two strands held together. Winding two balls and pulling one end from each gives a clean, even double strand without the two skeins tangling around each other. I used this trick for a baby blanket last winter, holding a soft cream yarn together with a pale yellow, and the two strands fed evenly for the whole project.
What Else Helps
A few small habits make winding easier. First, wind in the same room where you will crochet, so the yarn adjusts to the same humidity. Second, if you are winding a skein that has been sitting in storage, give it a gentle shake before you start to loosen the fibers. Third, keep the winder clean. A bit of lint on the guide can catch the yarn and cause uneven tension. I wipe the guide with a dry cloth every few weeks, and I have never had a lint problem since.
If you wind a lot of yarn, you might also want a yarn swift. The swift holds hanks open while the winder pulls from them, and the two tools work together beautifully. If you mostly use commercial skeins, the winder alone is enough. I borrowed a friend's swift for a weekend when I had three hanks of wool to wind for a sweater, and it made the job noticeably smoother. But for my usual projects, the chair back method is all I need.
One more thing: label your balls. If you wind several colors for a blanket, a small paper tag with the color name and dye lot saves you from guessing later. I learned that the hard way when I wound two similar blues and could not tell them apart the next day. Now I write the color and dye lot on a scrap of paper and tuck it into the center of the ball before I store it. The label stays with the yarn until I use it.
The first time I wound a full skein with the Knit Picks winder, I timed it out of curiosity: just over four minutes from loose skein to a firm center-pull ball. That is four minutes instead of the twenty I used to spend untangling.
Wind Your Next Skein in Minutes
The Knit Picks Yarn Ball Winder is the tool I reach for before every project. It turns loose skeins into neat center-pull balls in about four minutes.
Amazon Check Today's Price on Amazon →